Every great chef knows the secret to a perfect steak isn’t just about passion it’s about technique. I learned this from my grandmother in her kitchen. She turned an ordinary cut of meat into a masterpiece.
The reverse sear steak method is a game-changer for home cooks. It’s a new way to cook steak that gives you control over temperature and doneness. This ensures a delicious result every time.
Whether you love grilling on weekends or want to improve your cooking, mastering the reverse sear is key. It’s not just cooking; it’s about creating a memorable meal.
Ready to learn how to make steak like a pro? Let’s explore the world of reverse searing. You’ll discover how to get restaurant-quality results in your own kitchen.
Table of Contents
how to reverse sear a steak
Ingredients
Equipment
Method
- Preparation:Pat steaks dry, season with salt and pepper, and let sit at room temperature for 30–45 minutes.
- Low-Temperature Cooking:Heat oven to 225–275°F (107–135°C).Place steaks on a wire rack over a baking sheet and cook until the internal temperature is 10–15°F below your desired doneness.
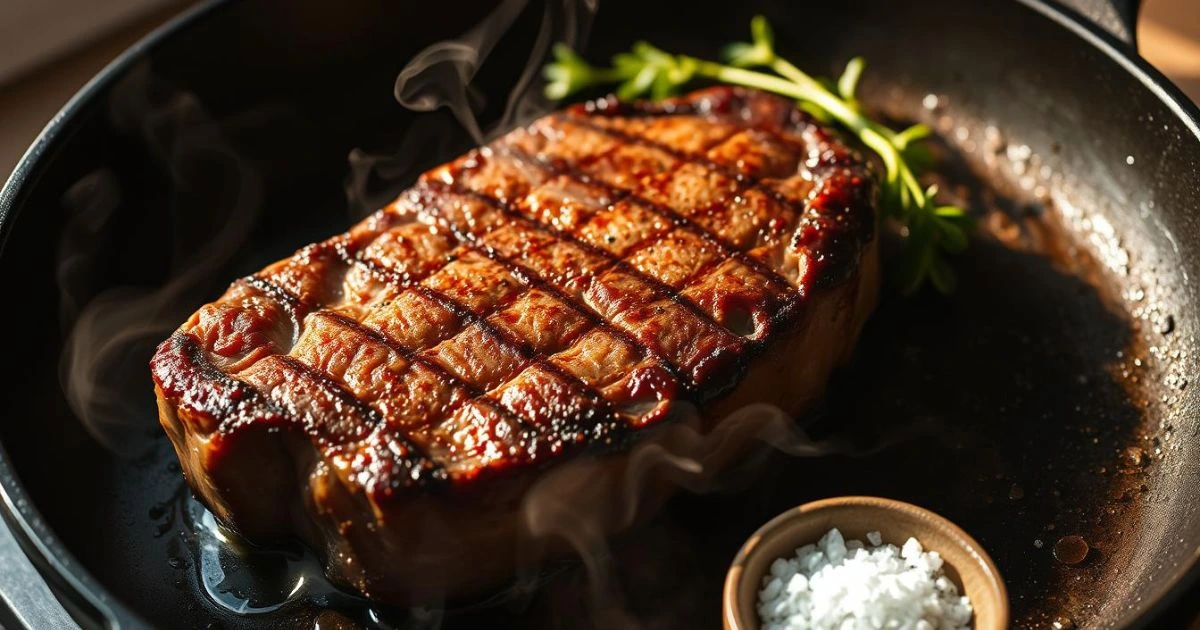
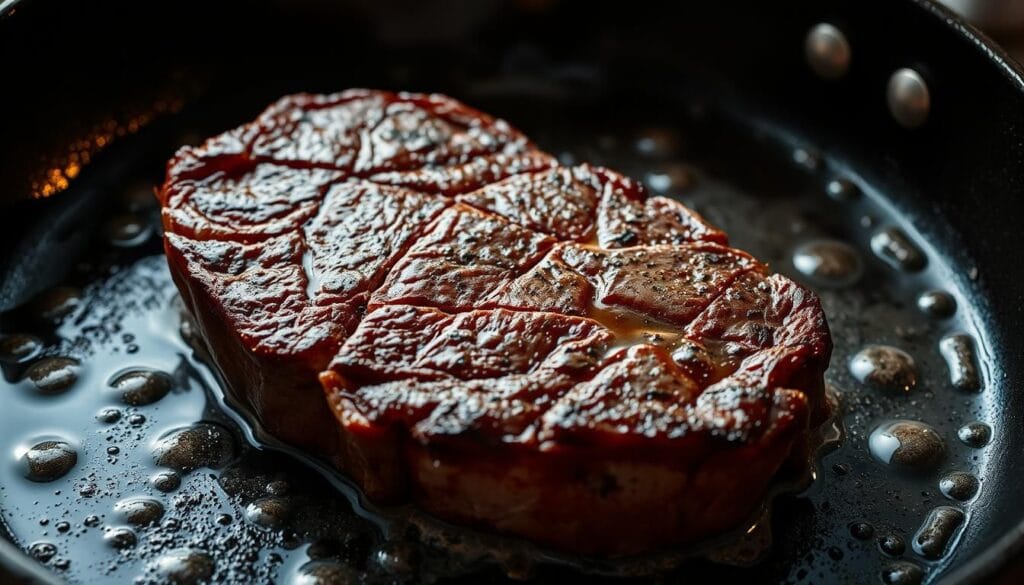
- Searing the Steak:Heat a cast-iron skillet over high heat (450–500°F).Add oil and sear steaks for 45–60 seconds per side.Add butter and herbs in the final 15 seconds for flavor.
- Resting and Serving:Transfer to a cutting board, rest 10–15 minutes, then slice against the grain and serve.
Notes
- Always remove steak from heat slightly before it reaches the final temperature to allow for carryover cooking.
- Pat dry before searing to create a perfect crust.
- Resting is essential, it allows juices to redistribute for a tender, flavorful result.
- You can use a grill or sous vide for the low-heat phase if preferred.
- Adding herb butter or a light sprinkle of finishing salt enhances presentation and taste.
Understanding the Reverse Sear Method
The reverse sear method has changed how we cook steak. It’s different from old ways of cooking. This new method makes cooking steak better.
Old ways of searing can make the outside tough. The inside might not cook right. Now, we cook steak in two steps for the best results.
Why Traditional Searing Falls Short
- Uneven heat makes cooking uneven
- High heat can dry out the meat
- It’s hard to get the inside just right
Science Behind the Reverse Sear
The reverse sear starts with low heat. This breaks down the steak’s proteins slowly. It makes the steak tender and juicy.
| Cooking Method | Evenness | Moisture Retention |
| Traditional Searing | Uneven | Poor |
| Reverse Sear | Consistent | Excellent |
Benefits of Reverse Searing
Chefs and cooks love the reverse sear for good reasons:
- Precise temperature control
- Flavors develop better
- Even doneness from edge to center
- Beautiful, even crust
“Reverse searing transforms an ordinary steak into a restaurant-quality masterpiece.” – Professional Chef
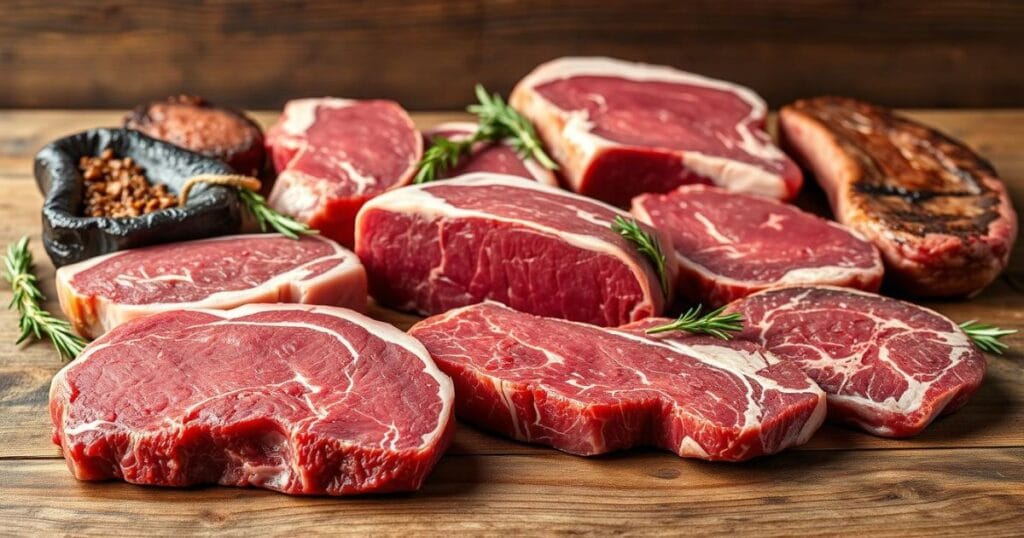
Choosing the Right Cut of Steak
Choosing the perfect steak is key to mastering the reverse sear grill technique. Not all steak cuts are the same. Knowing the differences can make your cooking go from good to great.
Best Steak Thickness for Reverse Sear
Thickness is important when using the steak searing technique. Steaks should be 1.5 to 2 inches thick. This thickness helps cook the inside evenly and creates a perfect crust.
Recommended Steak Cuts
- Ribeye: Rich marbling and exceptional flavor
- NY Strip steak: Balanced meat-to-fat ratio
- Filet Mignon: Tender and lean
- Porterhouse: Combination of tenderloin and strip steak
Quality Indicators to Look For
| Quality Indicator | What to Seek |
| Marbling | Fine, white intramuscular fat streaks |
| Color | Bright red with creamy white fat |
| Texture | Firm with minimal moisture |
| Grading | USDA Prime or Choice |
Professional chefs say to buy from trusted butchers who know meat quality. Look for steaks with even marbling. This means better flavor and tenderness during the reverse sear.
Essential Equipment and Tools
Mastering the reverse sear technique needs specific kitchen tools. These tools turn an ordinary steak into a restaurant-quality dish. The right equipment helps achieve perfect steak doneness and flavor.
Key tools for reverse searing include:
- Meat Thermometer: Essential for tracking internal temperature and achieving perfect steak doneness
- Wire rack for even heat circulation
- Cast-iron skillet for final searing
- Sharp chef’s knife for precise cutting
- Reliable oven for low-temperature cooking
A digital instant-read thermometer is the most crucial tool. It allows for precise temperature monitoring. This eliminates guesswork in determining steak doneness. Look for models with quick response times and accurate readings.
When choosing a reverse sear oven, focus on consistent temperature control and even heat distribution. An oven with reliable low-temperature settings between 200-275°F is best for the initial slow-cooking phase.
Investing in quality tools transforms home cooking from average to extraordinary.
Professional chefs say that proper equipment doesn’t just improve cooking results, it elevates the entire culinary experience. Each tool has a strategic role in creating a perfectly cooked steak. This steak has a delectable crust and tender interior.
How to Reverse Sear a Steak
Learning the reverse sear method can turn a simple steak into a gourmet dish. This technique ensures your steak is cooked to perfection, just like in a restaurant.
Pre-Seasoning and Preparation
To start, choose a thick steak, about 1.5 to 2 inches thick. This size is best for controlling the temperature during the reverse sear.
- Pat the steak dry with paper towels
- Season it well with kosher salt and black pepper
- Let it sit at room temperature for 30-45 minutes
Temperature Control Tips
Controlling the temperature is key in reverse searing. Heat your oven to a low 275°F. This temperature cooks the steak evenly and gently.
| Doneness Level | Internal Temperature | Cooking Time |
| Rare | 125°F | 20-25 minutes |
| Medium Rare | 135°F | 25-30 minutes |
| Medium | 145°F | 30-35 minutes |
Searing Technique Mastery
The last step is the sear, which adds a delicious crust to your steak. Use a cast-iron skillet that’s extremely hot for the best results.
- Heat the skillet on high with a high smoke point oil
- Sear the steak for 45-60 seconds on each side
- Add butter and herbs for extra flavor in the last minute
Temperature Guidelines for Perfect Doneness
Mastering the reverse sear steak recipe needs precise temperature control. Knowing the internal meat temperatures is key for the perfect doneness with the sear and bake steak method.
A meat thermometer is your most important tool for a perfect steak. Each level of doneness has a specific internal temperature. This turns a good steak into an amazing culinary experience.
| Doneness Level | Internal Temperature | Visual Appearance |
| Rare | 120–125°F (52–54°C) | Red center, soft texture |
| Medium Rare | 130–135°F (54–57°C) | Pink center, warm |
| Medium | 140–145°F (60–63°C) | Light pink center |
| Medium Well | 150–155°F (66°C) | Slight pink center |
| Well Done | 160–165°F (71°C) | No pink, fully cooked |
When using a reverse sear steak recipe, remember carryover cooking happens after removing the steak from heat. Take your steak out of the oven a bit below your target temperature. This ensures perfect doneness during the final searing.
- Use a reliable digital meat thermometer
- Insert thermometer into the thickest part of the steak
- Remove steak 5-10 degrees before desired temperature
- Allow steak to rest for 5-10 minutes after cooking
Professional chefs say to remove steaks early. The internal temperature will keep rising during the resting and final searing phase of your sear and bake steak technique.
Pre-Searing Preparation Techniques
Getting your steak ready for a perfect reverse sear needs focus and special techniques. These steps can turn a simple steak into a memorable dish. Learning how to reverse sear a steak is key.
Good steak preparation starts with two important steps. These steps are the base for a great meal:
Dry Brining: The Flavor Enhancer
Dry brining changes the game for your steak’s taste and texture. Here’s how to do it right:
- Choose a high-quality kosher or sea salt
- Spread salt on both sides of the steak
- Put the steak uncovered in the fridge
- Let it rest for 6-24 hours before cooking
This method pulls out moisture, then absorbs it, making flavors more intense. Dry brining helps your steak cook evenly and taste better when you sear it then oven.
Room Temperature: The Critical Waiting Period
Bringing your steak to room temperature is key for even cooking. Take the steak out of the fridge 30-45 minutes before cooking. This step helps with:
- Even heat distribution
- Shorter cooking time
- Better control over internal temperature
- Better texture
Pro tip: Always pat the steak dry with paper towels before cooking. This removes excess moisture and helps with better searing.
Low-Temperature Cooking Phase
The low-temperature cooking phase is the heart of the reverse sear steak method. It turns an ordinary piece of meat into a culinary masterpiece. This is done by ensuring even heat distribution and maximum tenderness.
During this critical stage, chefs carefully control the cooking environment. They aim to create a perfectly uniform internal temperature. The goal is to break down muscle fibers gradually, resulting in an incredibly tender and juicy steak.
- Start with a low oven temperature between 225-275°F
- Use a reliable meat thermometer for precise tracking
- Place steak on a wire rack for optimal air circulation
- Cook until internal temperature reaches 10-15 degrees below desired doneness
“Patience is the secret ingredient in the reverse sear technique.” – Professional Chef
Choosing the right equipment is crucial for your reverse sear steak preparation. A digital meat thermometer and a reliable oven or low-temperature grill are essential tools for success.
| Steak Thickness | Approximate Cooking Time | Target Internal Temperature |
| 1 inch | 20-25 minutes | 120-125°F |
| 1.5 inches | 30-35 minutes | 125-130°F |
| 2 inches | 40-45 minutes | 130-135°F |
Pro tip: The key to mastering the reverse sear steak method is maintaining a consistent, low temperature throughout the cooking process.
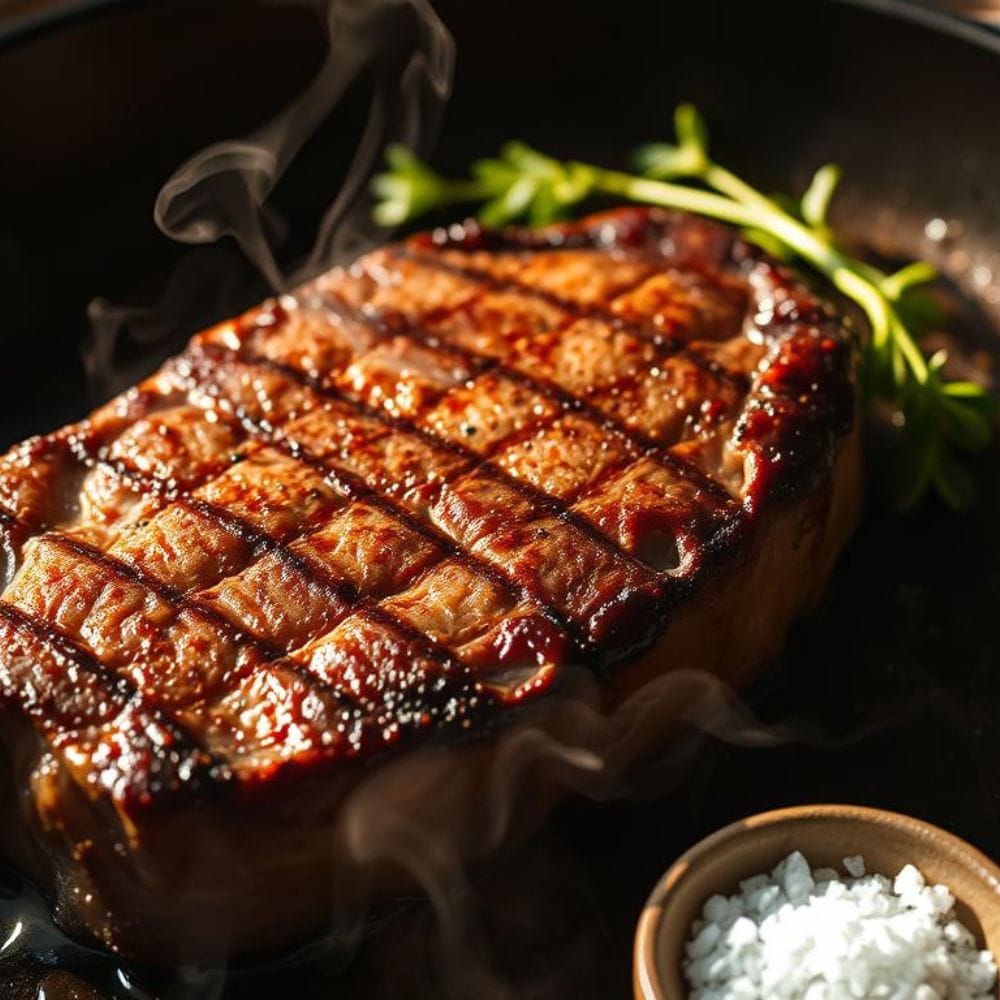
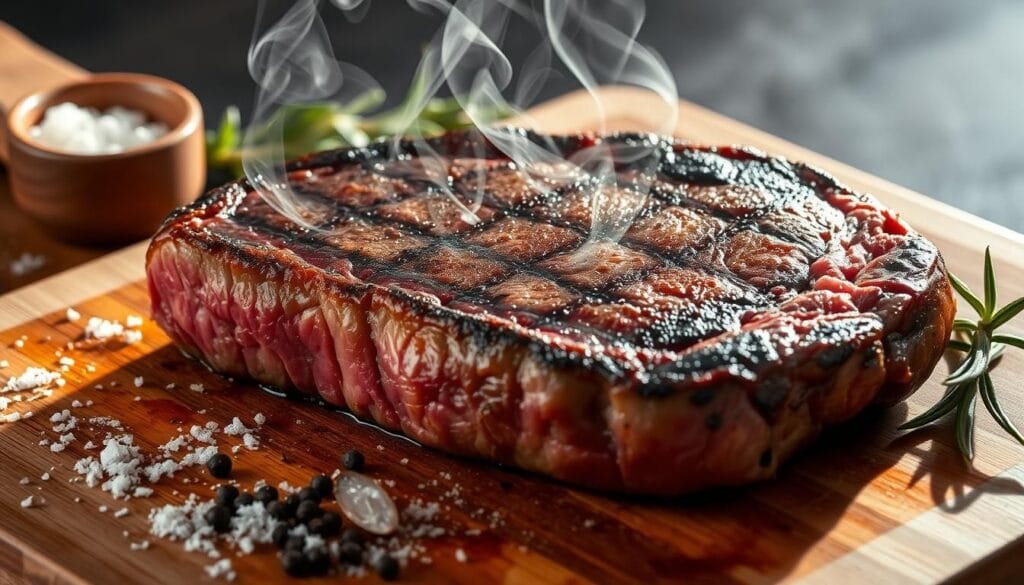
The Final Sear: Creating the Perfect Crust
The final sear is key to turning a great steak into a masterpiece. It needs precision, the right tools, and knowing how to manage heat.
Creating the ultimate crust involves several important factors. These factors make your reverse sear temperature approach stand out:
- Choose a heavy-bottomed pan that keeps heat well
- Make sure the pan is extremely hot before adding the steak
- Use oils like grapeseed or avocado that can handle high heat
Pan Selection for Maximum Flavor
Cast iron skillets are the best for a great sear. They hold heat well and have a natural non-stick surface. This makes them perfect for a crispy, beautiful crust.
Precise Searing Techniques
The reverse sear technique is all about quick, smart moves. Sear each side for about 30-45 seconds, turning the steak to get even browning. Use tongs to flip the steak without piercing it.
| Searing Parameter | Recommended Approach |
| Pan Temperature | 450-500°F |
| Searing Time per Side | 30-45 seconds |
| Oil Quantity | 1 tablespoon |
Pro tip: Add a pat of butter during the last 15 seconds of searing. It boosts flavor and makes the crust look amazing. This step will take your steak from good to extraordinary.
Resting and Serving Your Steak
Cooking a steak to perfection doesn’t stop when it’s done. The resting phase is key for a great meal. After using the reverse sear method, patience is your secret.
Once cooked, move the steak to a clean cutting board. Let it rest for 10-15 minutes, depending on its size. This time lets the juices spread evenly, making the steak juicy and tender.
- Remove steak from heat source
- Place on a clean cutting board
- Let rest at room temperature
- Avoid cutting immediately
While resting, the meat’s fibers relax and soak up juices. Cutting too soon will let these juices out, making the steak dry and less tasty. Chefs suggest covering the steak with foil to keep it warm without trapping steam.
The key to a perfect steak is patience: let it rest, and it will reward you with incredible flavor and texture.
When it’s time to serve, cut against the grain for tenderness. Use a sharp knife for clean cuts. You’ll get a steak that’s as good as what you’d find in a restaurant, thanks to the reverse sear.
Common Mistakes to Avoid
Mastering the reverse sear oven technique takes practice and precision. Even skilled home chefs can make mistakes that ruin the perfect steak. Knowing how to avoid these errors will improve your cooking.
Making the perfect steak is more than just following a recipe. Small details can greatly affect your dish.
Temperature Control Errors
- Neglecting accurate oven temperature calibration
- Using inconsistent heat settings during the low-temperature phase
- Failing to use a reliable meat thermometer
Small changes in temperature can greatly affect your steak. Precision is key in the reverse sear method. Use a digital meat thermometer to ensure accurate internal temperatures.
Timing Mishaps to Avoid
- Overcooking during the initial low-temperature phase
- Rushing the final sear
- Incorrect resting time
When cooking smaller steaks, adjust the time carefully. If you think you’ve overcooked it, stand the steak upright to help heat escape. Smaller cuts might need about a minute less per side.
Pro tip: Patience transforms a good steak into an exceptional dining experience.
Understanding these common mistakes will help you master the reverse sear technique. You’ll cook with confidence and precision.
Alternative Cooking Methods and Variations
The reverse sear method is great for home chefs wanting to improve their steak game. It’s flexible, and you can try different ways to get amazing results.
Grill lovers can use the reverse sear method with indirect heat. Cook the steak at low heat on the cooler side of the grill. Then, sear it at high heat on the hot side. This method cooks the steak evenly and adds a tasty crust.
- Oven-based reverse sear method
- Grill indirect heat technique
- Sous vide alternative
- Cast iron skillet finishing
If you don’t have an oven, you can still make a great steak. Use a sous vide machine for the low-temperature phase. Then, sear the steak in a very hot cast iron skillet.
Adding different flavors can make your reverse sear steak even better. Try these ideas:
- Herb-infused butter during searing
- Spice rub before low-temperature cooking
- Aromatic wood chips for smoky flavor
Mastering the reverse sear method is all about controlling temperature and trying new things. Each method has its own perks, letting you tailor your steak to your taste and what you have.
Conclusion
Learning to reverse sear a steak makes home cooking as good as a restaurant. This method is more than just cooking. It brings out amazing flavors and tender meat.
The reverse sear recipe lets home cooks make meals like pros. It’s easy to follow and requires just a few steps. With the right techniques, anyone can make a great steak.
Every step in reverse searing is key to a delicious steak. It starts with slow cooking and ends with a crispy crust. Those who learn this method will make amazing beef every time.
Start your journey to master reverse searing. Try different cuts and seasonings. Soon, you’ll make steak dinners that wow everyone.
FAQ
What exactly is reverse searing?
Reverse searing means cooking the steak low and slow first. Then, you sear it hot. This method cooks the steak evenly and gives a crispy outside, unlike regular searing.
What type of steak works best for reverse searing?
Thick steaks, like ribeye or filet mignon, are best. They need to be at least 1.5 inches thick. This thickness helps control the temperature and ensures even cooking.
Do I need special equipment to reverse sear a steak?
You don’t need much, but some tools are helpful. A meat thermometer, wire rack, cast-iron skillet, and a controlled oven or grill are key. They help you cook the steak perfectly.
What internal temperature should I aim for with reverse searing?
The temperature depends on how rare you like your steak: – Rare: 125°F – Medium-Rare: 135°F – Medium: 145°F – Medium-Well: 150°F – Well-Done: 160°F Take the steak off the heat a bit early. It will still cook a bit more.
How long does the entire reverse sear process take?
It takes about 45-90 minutes, depending on the steak’s thickness. The slow cooking takes 30-45 minutes. Then, searing each side for 1-2 minutes finishes it off. Be patient for the best results.
Can I reverse sear on a grill instead of in an oven?
Yes! You can use a grill by setting up two zones. Cook the steak low on the cooler side, then sear it hot on the other side. It’s the same as oven reverse searing.
What’s the most common mistake when reverse searing?
The biggest mistake is rushing. Don’t hurry the slow cooking or the searing. Take your time for even cooking and a great crust.
How do I know when to stop searing?
Look for a golden-brown crust in 1-2 minutes per side. Use a thermometer to check the internal temperature. The steak should look even inside and have a crispy outside.
Should I let the steak rest after cooking?
Yes, always let the steak rest! Let it sit for 5-10 minutes. This makes the steak tender and flavorful, preventing it from drying out when you cut it.
There are no reviews yet. Be the first one to write one.